Festive Fall Decor Ideas
Everyday décor doesn’t have to complicated, with a little inspiration and bright color paper, you can transform any space to match the warm tones of the season.
Fall in love with the vibrant hues of autumn and get your craft on, on a budget, too!
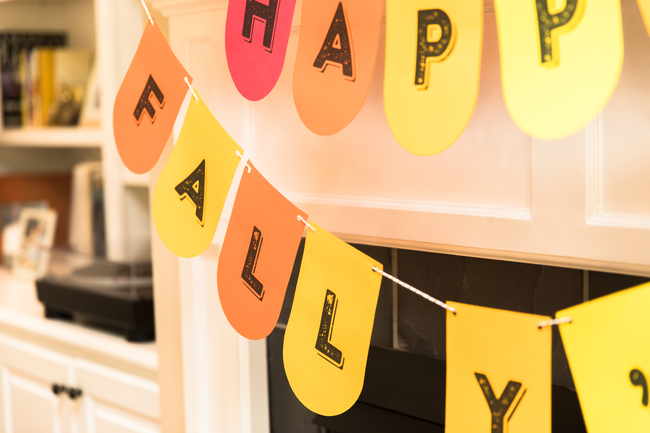
Happy Fall Y’all Banner
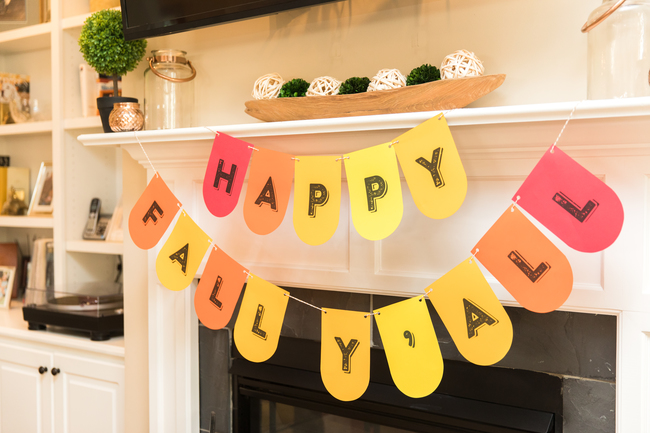
This easy DIY Banner is a great addition to any mantle or wall for a simple, yet, festive vibe that will inspire oohs and ahhs and have your friends and family asking “Orange you happy it’s fall?”
Cosmic Orange™, Orbit Orange™, or even Galaxy Gold™ paper or cardstock are the perfect canvases for this cute banner, but with 25 color options you can scare up a color scheme that complements your home. Just add black ink!
Here’s what you’ll need to get started:
Materials
- Color Paper or Colored Cardstock
- Scissors
- Round Paper Punch
- String
- Happy Fall Y’all Template
Step 1: Let’s create! Download the free template and print on your favorite fall-themed paper or cardstock. Be sure to set your printer to the correct paper properties for crisp prints.
Step 2: Cut out the banner templates and hole-punch each end of the pennant. If you don’t have a hole-punch, you can cut the paper with scissors or a paper cutter.
*Make sure the pennants holes are aligned to thread the string.
Step 3: String them together! Space the banner pennants evenly.
Step 4: Hang your tags evenly in the space of your choice and enjoy all season long!
Fall-Themed Paper Placemats
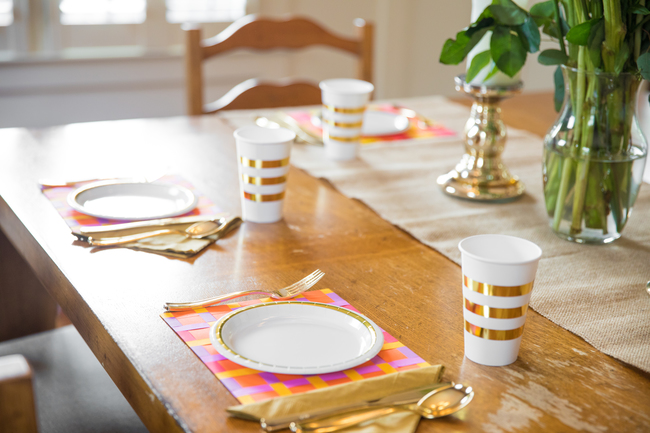
Tis the season for togetherness, and nothing quite beats gathering around the table with perfectly practical placemat that add an unexpected pop of color, with those you are thankful for.
Create a seamless tablescape or mix it up with a rainbow of colors. The possibilities are endless.
Let’s get started:
Materials
- Color Paper or Colored Cardstock
- Paper cutter or scissors
- Glue Stick
- Tape
Step 1: Choose 4 (or more!) of your favorite Astrobrights colors and cut each sheet into ½”, 1”, and 2” strips with a paper cutter or scissors.
Step 2: Place and arrange the strips of the first color in a straight row side-by-side on a smooth surface.
Step 3: Tape the strips down to the surface to prevent movement.
Step 4: Take the second color strips and weave them under and over the first color to make a checkered pattern.
Step 5: Repeat this pattern for the remaining color strips, alternating each strip.
Bonus: Be sure to press the strips to the tape.
Step 5: Remove the tape and arrange the strips so they form a tight weave pattern. Fill in with additional strips.
Step 6: Once you have about 1-2 inches of remaining on all sides, carefully fold them to close the weaving and clean up the loose edges.
Step 7: Apply glue to the edges.
Step 8: Repeat these steps for your table setting according to your number of guests.

Now, you’re ready to entertain! Add your own twist to each project for designs all your own. For more ways to celebrate and entertain in vibrant style, check out our Colorize Your Party section.