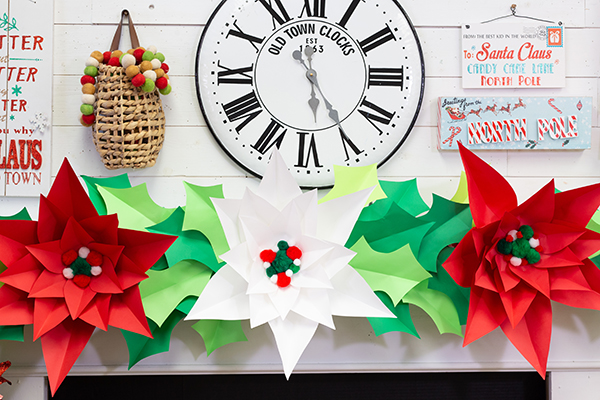
Giant Paper Poinsettia Garland

Craft Box Girls
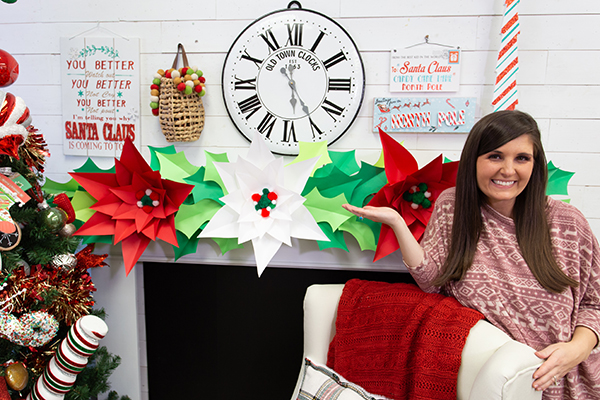
The holidays are extra special this year for my family as we are expecting another baby girl and with the craziness of this year I thought it was fitting to go big and fun with all my holiday decorations. From my studio to my home I am adding big fun pops of color and I love how the bold, bright colors of Astrobrights paper brings the extra holly jolly! I am excited to share this easy tutorial for a giant paper poinsettia garland perfect for a fireplace, dining room table or even to hang over a window.
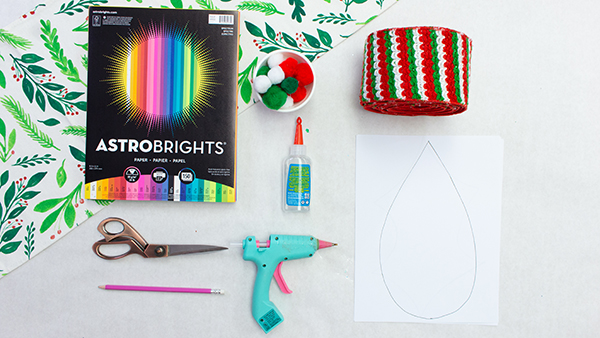
Materials:
-
Astrobrights Spectrum Paper Pack
-
Paper Glue
-
Hot Glue
-
3-4” Wide Ribbon
-
Scissor
-
Pencil
-
Pom Poms
How to Make Giant Paper Poinsettias with Lynn Lilly
1. Measure the ribbon to the size of the area where you are going to display the garland. I have a 5 foot fireplace and I created 3 flowers.
2. Download and print the templates for the petals and holly leaf.
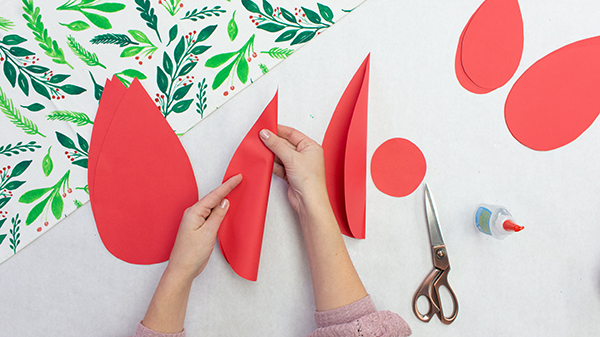
3. Cut out each template, trace 6 of each size petal on Re-Entry Red paper and cut. This will give you enough petals to make one flower.
4. Cut out the holly leaf template and trace and cut the template on Martian and Gamma Green paper. The number of leaves will depend on how many flowers you are creating and the length of garland.
5. Fold all the holly leaves in half and set aside.
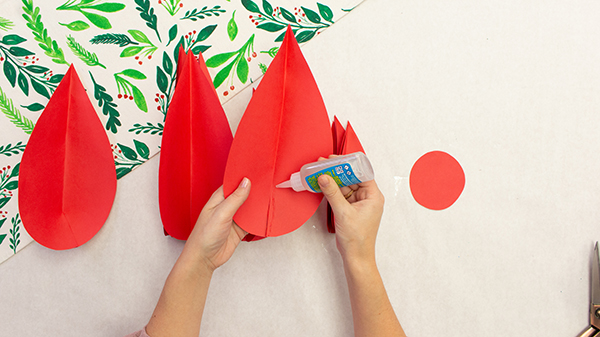
6. Take each petal and cut a 2” slit up from the bottom center of each petal. Place a line of paper glue on the right side of the slit. Fold the left side of the slit over the right side and glue it together to create dimension for each petal. Do this for all the petals.
7. Cut a 4”-5” circle from a scrap of the Re-Entry Red Paper.
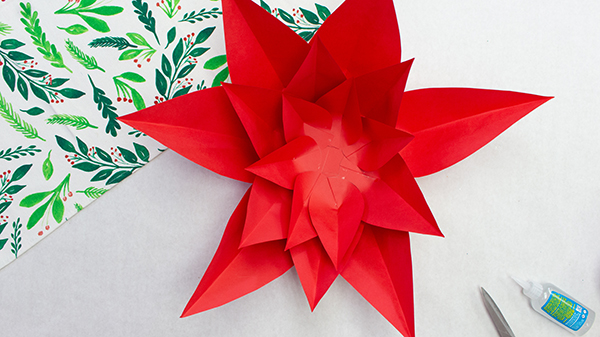
6. Starting with the 6 largest petals glue them around the outside edge of the circle. Next glue the medium around the center and then the small.
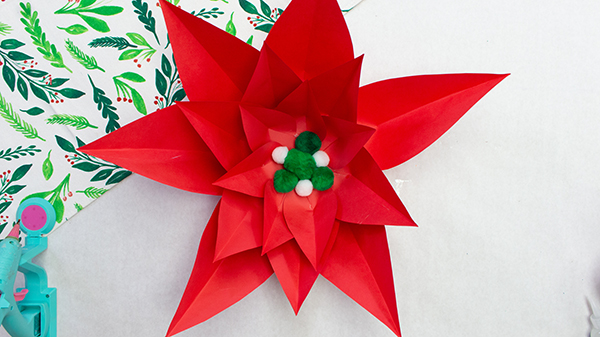
9. Fill in the center of the flower by gluing in pom poms.
10. Once all your flowers are made, lay out the piece of ribbon you cut in step 1. Place the flowers on the ribbon and space out. Glue the flowers to the ribbon with hot glue.
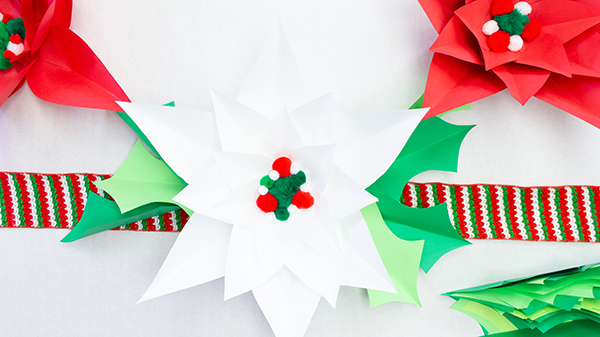
11. Glue the holly leaves around and in between each flower until you have the desired fullness.
12. Use tacks or nails to hang your garland or just lay it on a table!
TADA!!! I love how this garland turned out and it makes me smile everytime I see it!
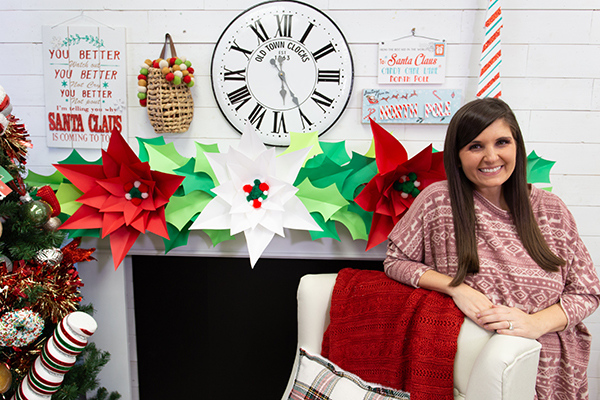
xoxo- Lynn Lilly, @craftboxgirls
TADA!!! I love how this garland turned out and it makes me smile everytime I see it!
xoxo- Lynn Lilly, @craftboxgirls