SPRING BUTTERFLY CROWN

LUCIAMALLEA.COM
March is National Craft Month and it’s the perfect time to try something new!
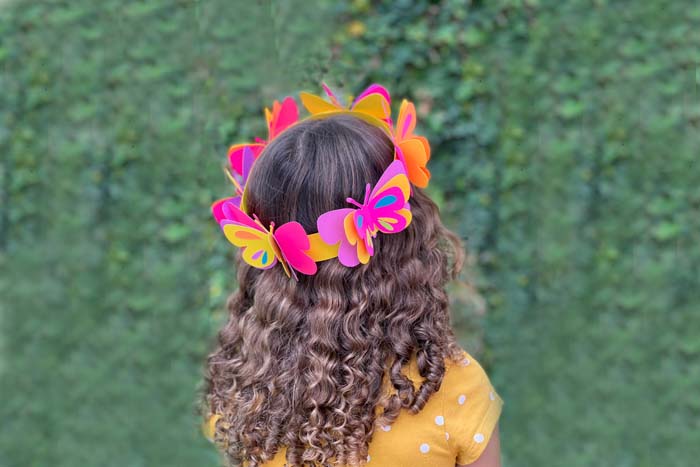
Paper crafting is a good place to start, and since Spring is just around the corner, what about making a paper butterfly crown?
Both kids and adults will love creating this super easy project! All you need to do is cut out the butterflies from my template and decorate the wings! Then, you put them all together to make a beautiful crown! So fun to do!
If you have any extra butterflies, you can try making a butterfly wand (just add a wooden dowel and ribbon). Perfect for a Spring Party!!
Let’s get ready to craft!!
Supplies:
- Astrobrights® Bright Paper and Tropical Paper packs
- Paper scissors
- Glue stick
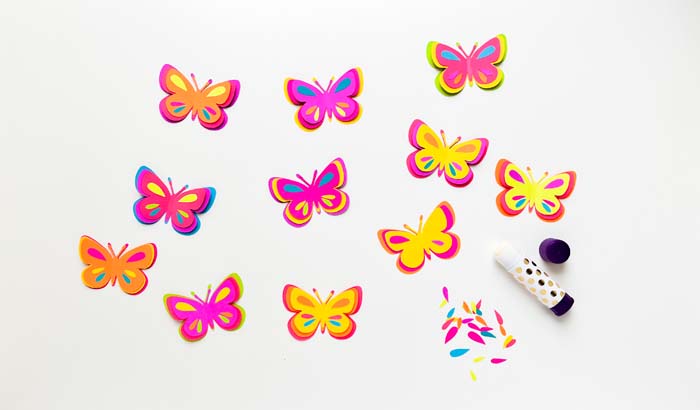
Step 1: Print out the templates onto every single color of Astrobrights Paper from the Tropical and Bright packs.
Step 2: Cut out printed pieces.
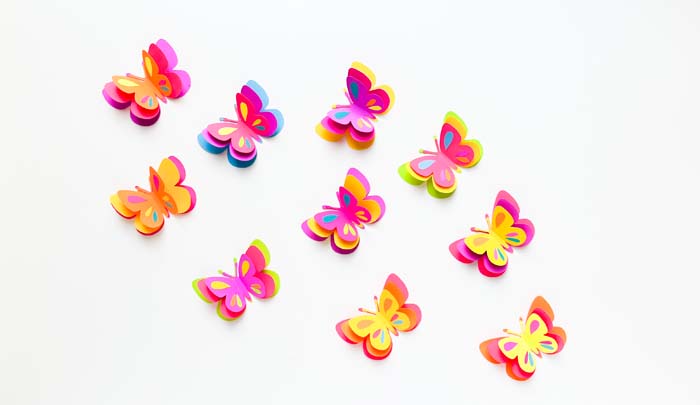
Step 3: Combine different colors for the bottom, middle and top part of the butterfly. Glue them together in that order - the bottom one will be the biggest one and the smallest one will go on top.
Step 4: Glue the small pieces to the wings. Make sure to mix different colors to make it Pop!
Step 5: Lift middle and top butterfly wings up to give volume and make them look like they are flying!
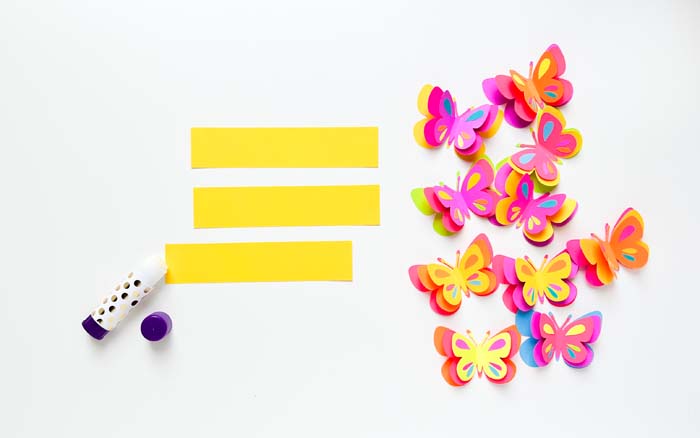
Step 6: Cut 3 rectangles of any color paper and glue them together making one long rectangle. You can do this following my template or using leftovers. This will be our headband.
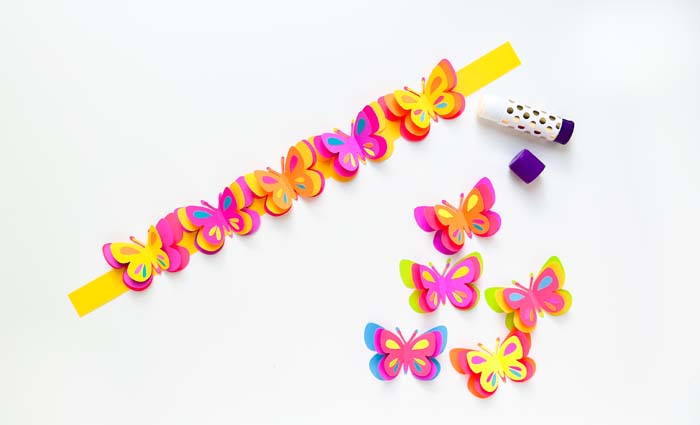
Step 7: Glue the butterflies along the rectangle.
Step 8: Measure the head and glue according to size.
You are ready to go! Put on that crown and go out there to celebrate National Craft Month AND the beginning of Spring!

