Holiday Mittens Gift Card Holders
.ashx?la=en)
Merriment Design
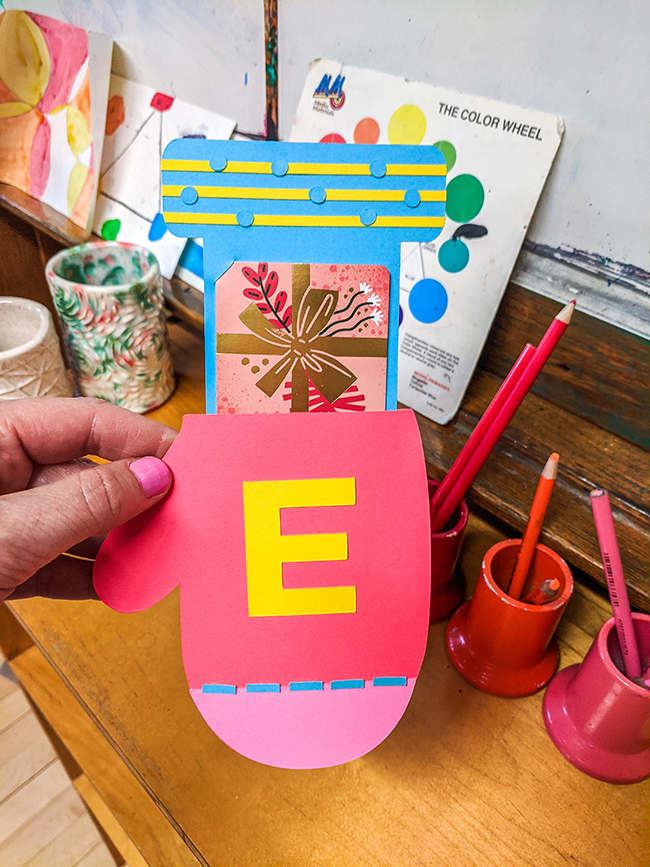
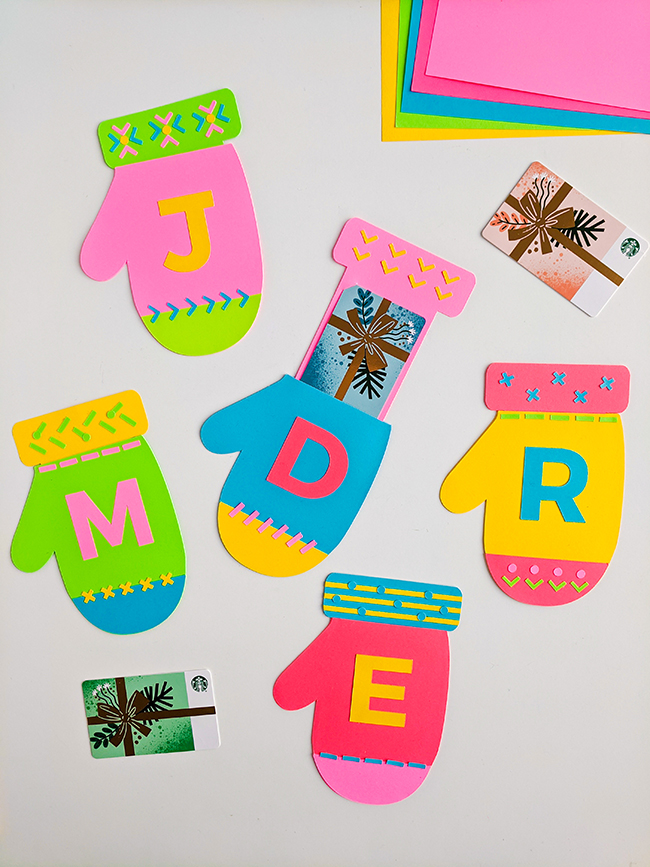
Gift cards are a popular holiday gift. My teen niece absolutely loves gift cards! And gift cards are great for teachers, babysitters, and coaches. Let’s be honest, though; gift cards can feel a bit impersonal. So today I’m sharing super cute handmade mitten gift card holders that will make your gift cards feel memorable and special. The paper mitten fronts and backs are glued together to make narrow pockets, and gift cards are then tucked inside. Recipients simply pull up the paper mitten cuff to reveal the gift card inside. Cute, yes?
You can easily create these cute and easy mitten gift card holders in a few easy steps with your favorite ASTROBRIGHTS® Paper. Just download my free mitten gift card template below, and print onto your chosen bright colors, cut, glue, and slip the gift card inside. Decorate the gift card holders as much or as little as you like. I added wintry knitted patterns and monogrammed letters.
Have the kids help out! Kids can decorate the mittens with cut colored paper, markers, colored pencils, washi tape, teeny pom poms, paper punches, whatever you have on hand. These gift card holders are easy and fun to make and reinforce the joy of giving. No guilt about gift cards over here!
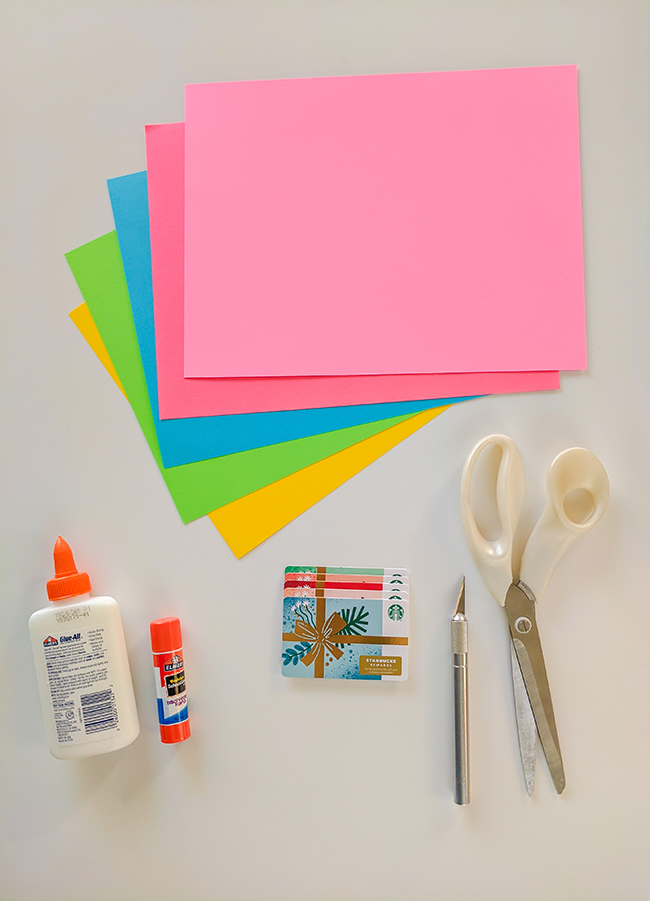
Supplies for making DIY mitten gift card holders:
- ●Kathy’s free DIY mitten gift card holder template PDF
- ●ASTROBRIGHTS Papers in your chosen colors (I used Lunar Blue™, Rocket Red™, Martian Green™, Pulsar Pink™, and Solar Yellow™)
- ●Paper scissors and optional craft knife, metal ruler and self-healing mat
- ●Optional paper cutting machine
- ●Glue stuck and white school glue
- ●Gift cards from your chosen store
Step 1: Choose colors for your DIY gift card holder and gather supplies
Pick your assorted Astrobrights® Papers. Choose a color assortment or go monochromatic. I chose colors inspired by my wooden German Christmas ornaments for my DIY mitten gift card holders.
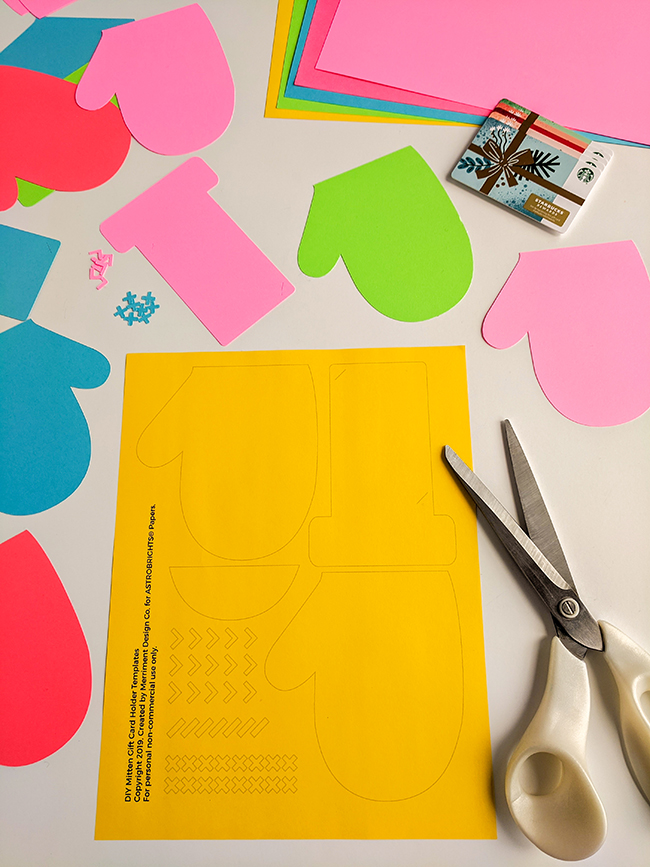
Step 2: Print the mitten gift card holder templates
Download the mitten gift card holder templates. Print template onto ASTROBRIGHTS Papers and cut out. Alternatively, you can use my SVG file with your paper cutting machine.
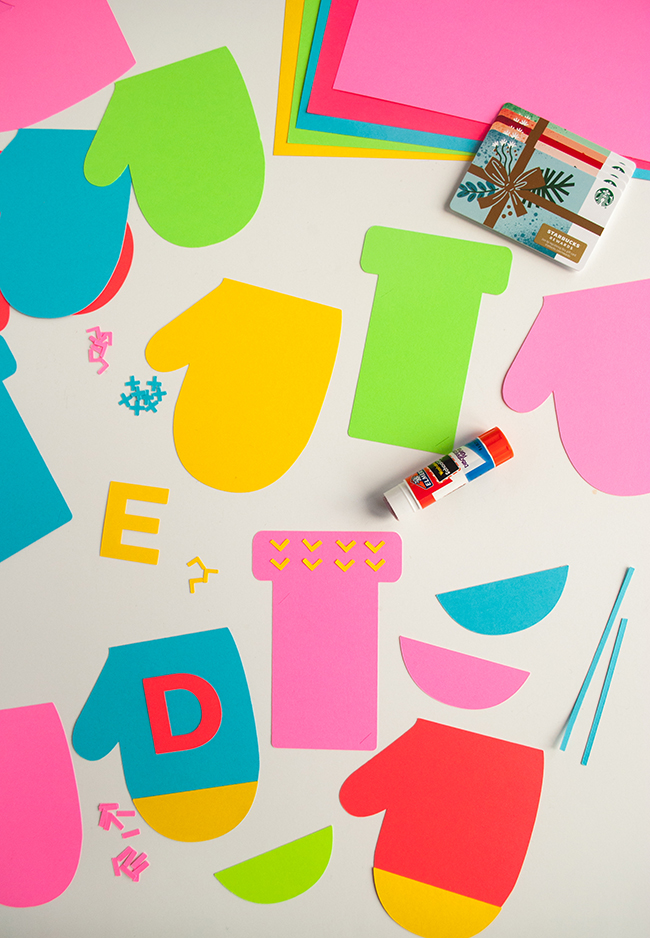
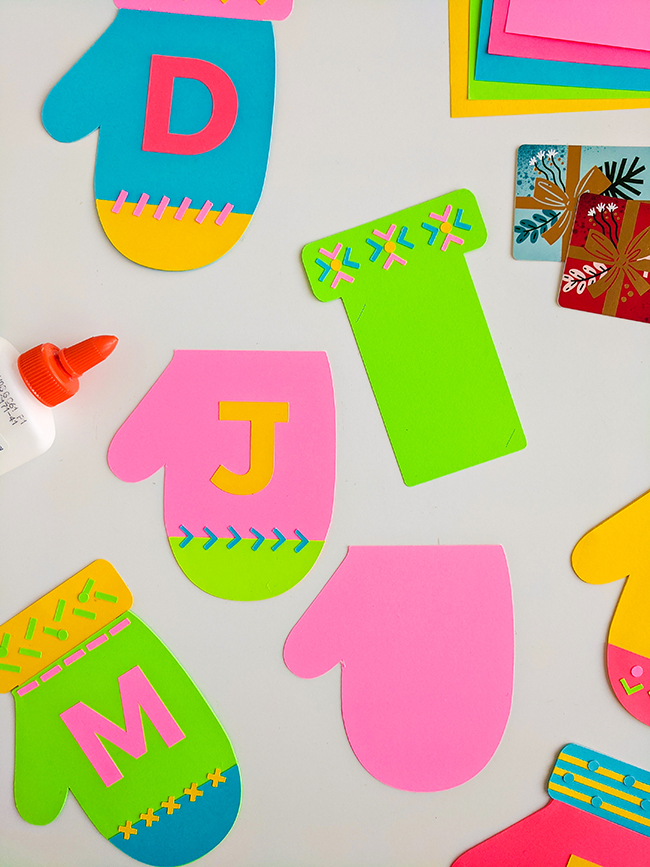
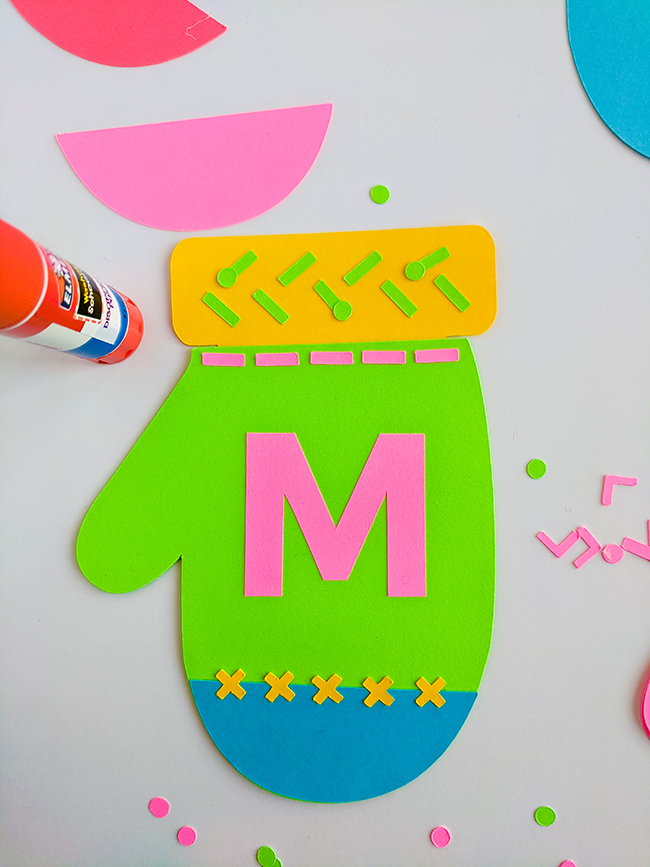
Step 3: Decorate the mitten gift card holders
Cut out decorations from scrap ASTROBRIGHTS Paper -- or you can alternatively decorate the mittens using colored pencils, markers, washi tape, pom poms, or other craft supplies. Glue decorations to the mitten gift card holder and let dry. You can decorate both the front and back if you wish, or simply write a nice message on the back.
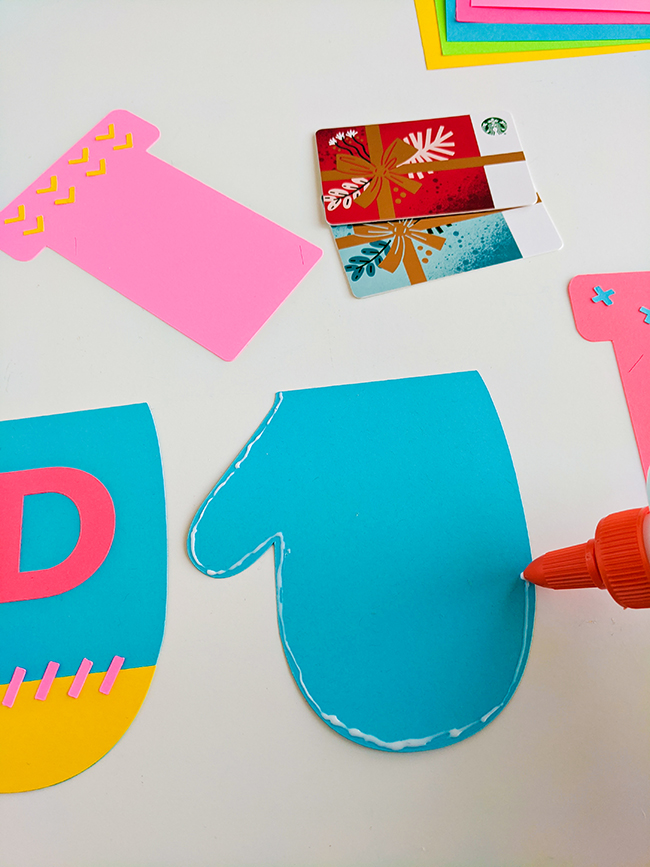
Step 4: Glue the mitten front and back
Place the back of the mitten onto your table, decorated side down. Run a thin bead of school glue along the edge of the mitten. Be sure to only glue the sides, leaving the mitten top open to slide the gift card in later.
Place the mitten front on top and let dry completely.
Place the mitten front on top and let dry completely.
Step 5: Slip the gift card into the holder
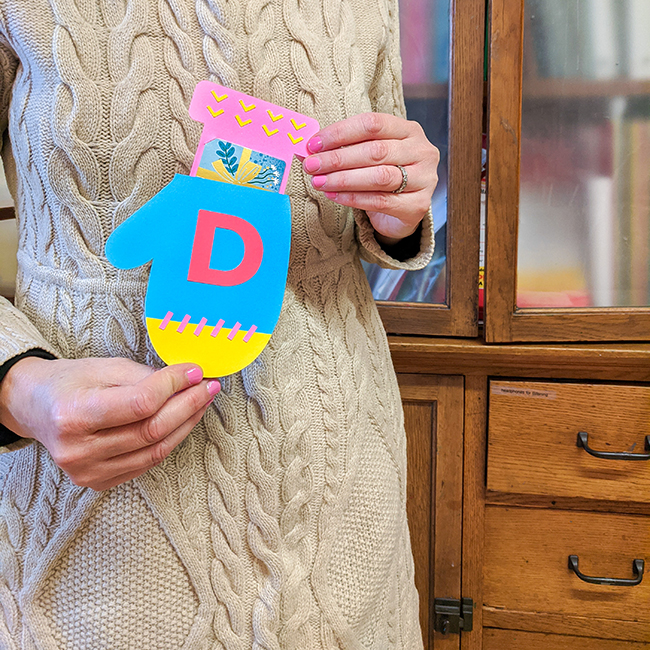
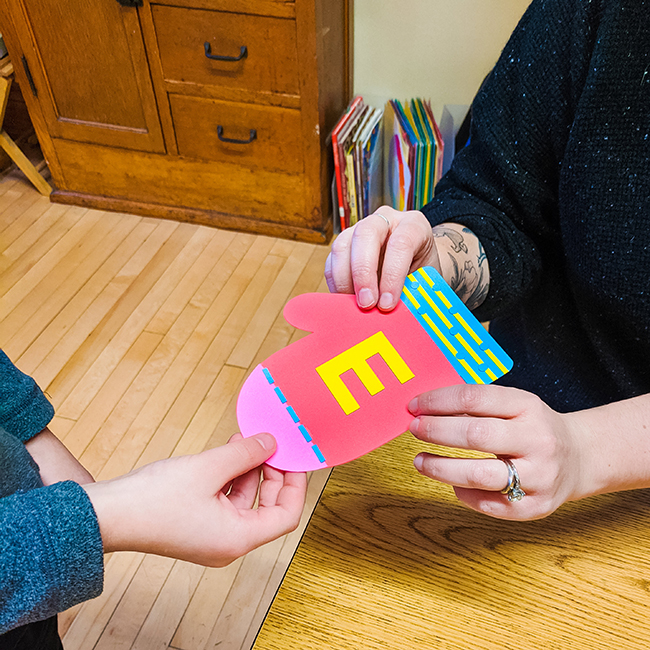
Cut the two diagonal slits on the mitten cuff using a craft knife. Slip the gift card into the slits -- it’s easiest to slightly bend the gift card and put the curves into the slits.
Slide the mitten cuff between the mitten front and back. And now your gift card is ready to give!
I hope you enjoy making your own DIY mitten gift card holders in your favorite ASTROBRIGHTS colors. I love the creative potential in this project -- you can totally make them anyway that you like. What are your favorite gift cards to give to your teachers, babysitters, family, and friends?