Rainbow Quilled Canvas Art


Craft Box Girls
Quilling can be intimidating and expensive if you go the traditional route. Intimidating and expensive are two of my enemies when it comes to crafting. I discovered that instead of purchasing expensive quilling supplies you can make your own with a paper straw, paper or cardstock and a little glue! Once you get the hang of quilling with a paper straw it is so easy to get creative with shapes and how you can put them together to make creative designs. For this project I wanted to use fun bright colors, so I thought there was no better design to create than a rainbow. Rainbows are trending from crafts to fashion and I love how this project turned out!
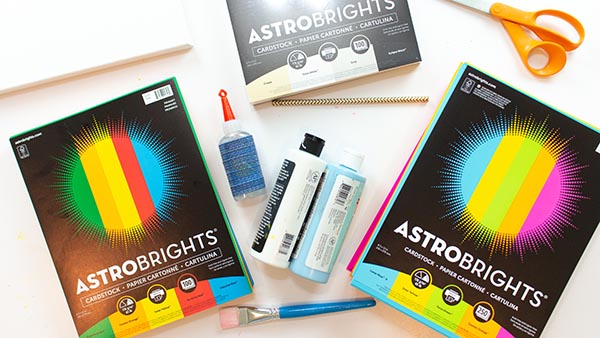
Materials:
- Astrobrights Paper Packs in Primary, Bright and Classic.
- 12x12 Stretched Canvas
- Acrylic Paint in Blue and White / Paint Brush / Paper Towel
- Scissors
- Paper Straw
- Paper Glue
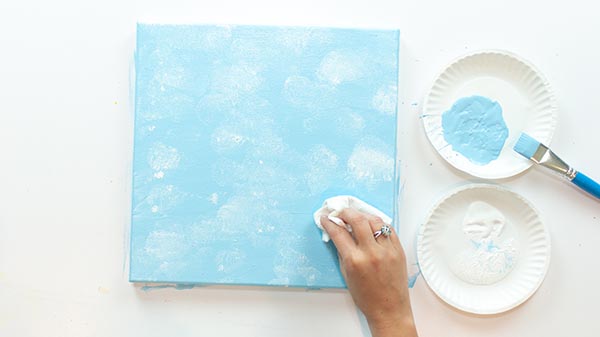
Canvas Painting
1. Paint the canvas blue.

2. When it is almost dry scrunch up a paper towel and dab it in the white acrylic paint. Dab the paper towel around the canvas to create clouds. Let the canvas fully dry.
Paper Quilled Rainbow
3. Pick out the colors you want to use for the rainbow. Cut ¼” strips of paper starting on the 11” side of the cardstock.
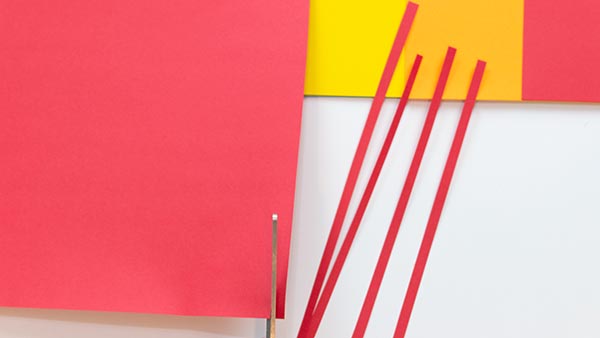
4. Starting with the smallest arch of the rainbow to the biggest I cut the 12 Fireball Fuchsia, 16 Lunar Blue, 19 Terra Green, 23 Solar Yellow, 26 Cosmic Orange, 29 Re-Entry Red.
5. For the clouds I cut a total of 42 Bright White starting on the 8” side of the cardstock. These will be slightly longer.
6. For the sun I cut a total of 16 Solar Yellow starting at the 8” side of the cardstock
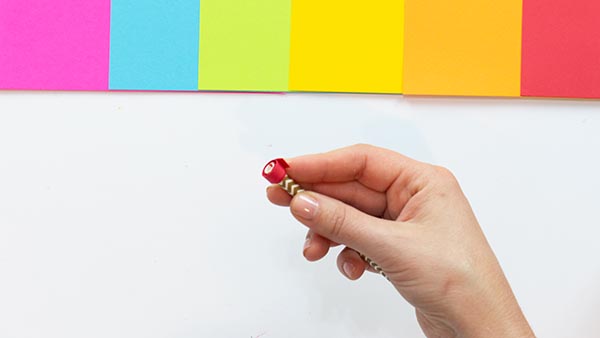
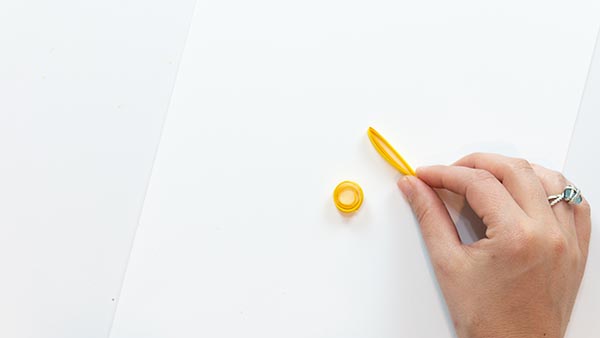
7. Insert the tip of the scissor in the paper straw and make a tiny cut. The cut should be about ¼”.
8. Insert the end of one strip and roll it around the straw.
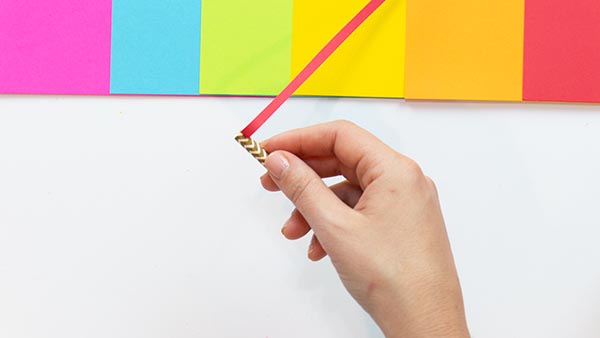
9. Once you reach the end apply a dot of the glue and hold in place until the glue sets.
10. Carefully slide the roll off the straw.
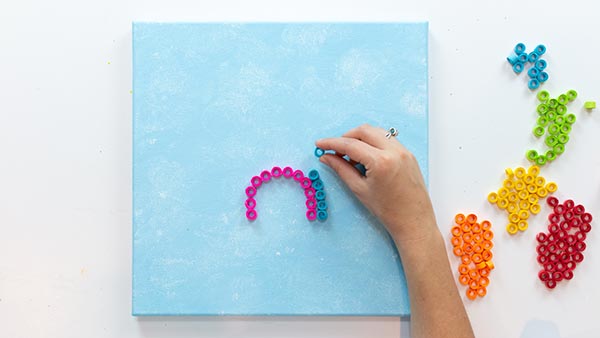
11. Repeat for all the remaining rainbow arch strips.

12. Glue the rolls to the canvas arranging each color arch as you go.
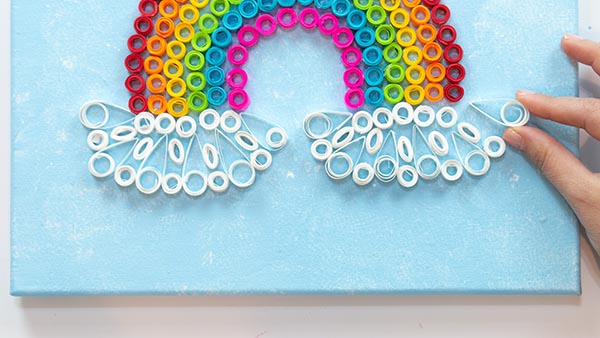
Quilled Clouds
13. For the clouds roll 28 of the Bright White strips just like the ones for the arch.
14. Take 10 of the rolls from step 10 and smoosh it in between your index and thumb.
15. Roll the remaining white strips leaving a 4 inch tail before finishing. Bend that tail to create a teardrop. Wrap the end around and glue. Pull it off the straw and let the inner roll unravel slightly.
16. Create and glue a cloud design at the ends of the rainbow arch.
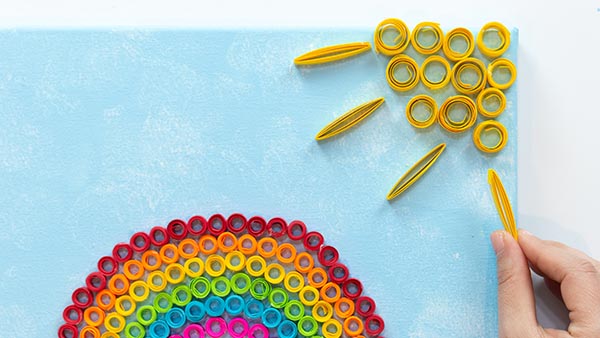
Quilled Sun
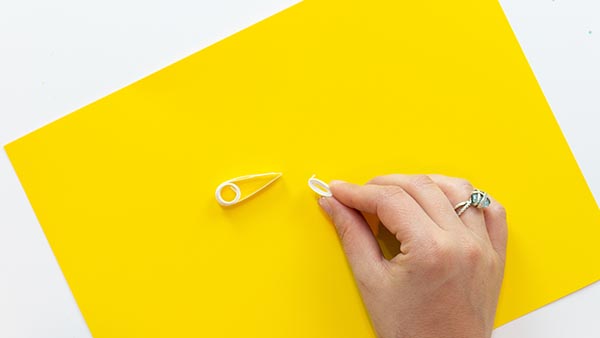
17. For the sun roll 12 of the Solar Yellow strips but instead of glueing the end, pull it off the straw and let it unravel slightly. Glue the end to create loose spiral rolls.
18.For the remaining 4 yellow strips fold at 2 inches and continue to fold until you reach the end. Glue the end. These are the rays for the sun.
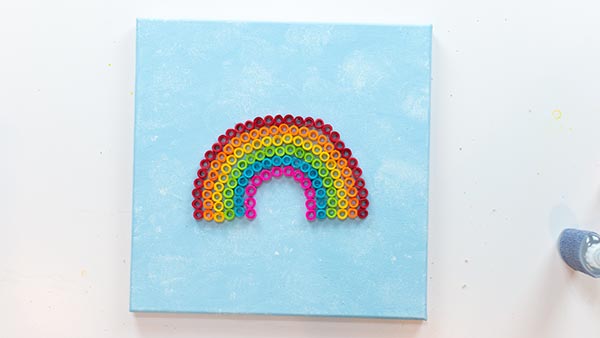
19 . Layout the pieces to create the sun in the corner of the canvas and glue in place.
20. Let dry and then hang or display!
Once you get the hang of quilling the possibilities are endless. Create a rainbow like I did or maybe an ocean scene, flowers or your favorite animal!
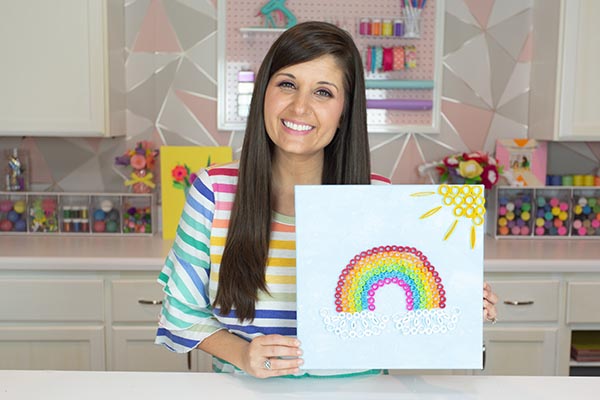
XOXO- Lynn Lilly