Write the Rainbow: Spring Break!

BY APRIL MCNAIR
A Modern Teacher
I've had rainbows on the brain ever since December 26th. I jump right from the holiday season to Spring. In the classroom, I can't wait for Spring Break. And of course, my students can't either.
Today, I'm sharing a fun activity you can do with your students when you return from Spring Break. When we return from any break, students want to share what they did over the break. They want to talk about it. This activity gives everyone a chance to share in a positive way. It also provides beautiful decoration for the classroom.
And the best part about this project is that you can use it for anything. I'll show you how. Let's get to it!
Materials:
Steps:
You'll want to do a little bit of prep work first to get your materials ready to complete this activity.
1.Cut strips of the paper in a rainbow of colors.
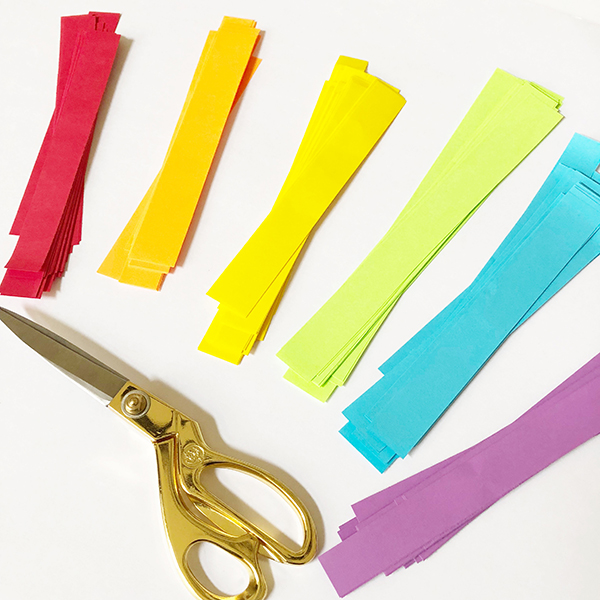
2.Cut the strips about 1 inch in width. If you'd like bigger loops, cut the paper on the long side. If you'd like smaller loops cut the paper on the short side.
Next, have the students complete the activity:
3.On the smart board or other projection, write the prompts for each color. Have students brainstorm answers to the color prompts in their journal or on loose leaf paper.
I've chosen these prompts for each color:
Re-Entry Red: Share one memory you made over Spring Break that you never want to forget.
Galaxy Gold: Share something you did outside.
Lift-Off Lemon: Share someone you saw over the break.
Vulcan Green: Share a place or restaurant you went to over the break.
Lunar Blue: Share something you ate while on break.
Gravity Grape: Share a book or magazine article you read over the break.
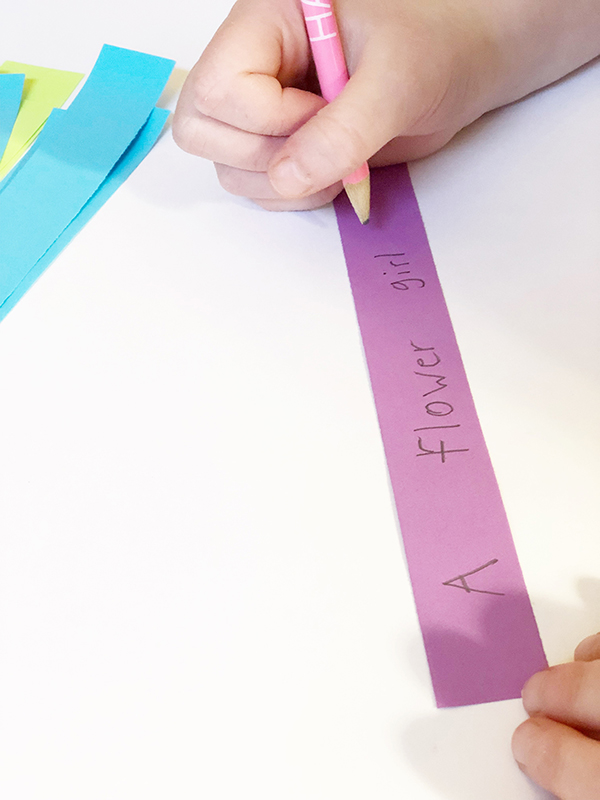
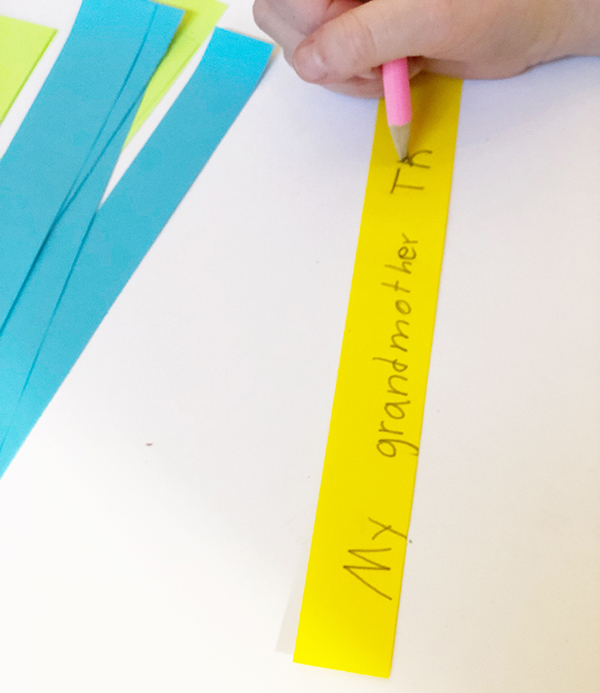
4. Once they've brainstormed, they can decide what they'd like to write on the colored strips. If you'd like to have a large rainbow, you can have students write many answers to these prompts on different strips.
After students have written their answers, the class can gather in a large circle and share their responses.
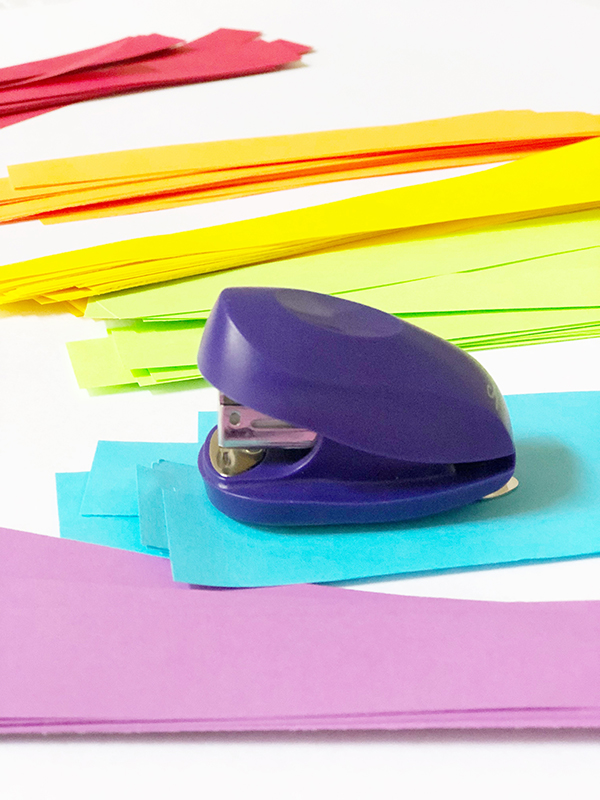
5. As students share, make a loop with the strips, staple and continue interlocking the strips. Keep going until all students have shared. I think a mini-stapler works well for this project. The stapler fits well inside the small loops.

And that's it!
Now, you not only can use this activity when you return from the break, but you can use this activity any time of the year. You can use this to answer review questions in any subject. Also, students can show examples of whatever skill/problem they are learning. Just have each color represent different questions/themes/objectives. For example: After reading a book, students can write the story elements on each color. Write the characters on Re-Entry Red, the setting on Cosmic Orange and so on. For math: If you are studying place value, you could have students write two-digit numbers on Re-Entry Red, write three-digit numbers on Cosmic Orange and so on.
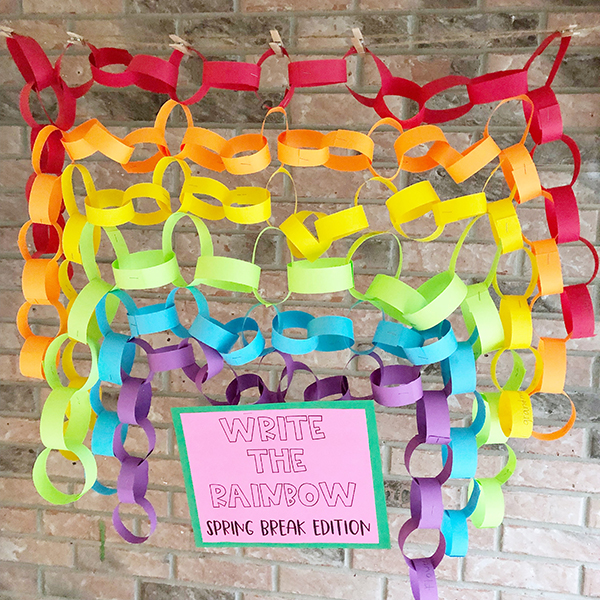
Hang the garlands as your classroom/school allows. I've hung from a rope that goes across the wall. Other options are to hang from the smart board/ white board or simply on the walls in one continuous garland.
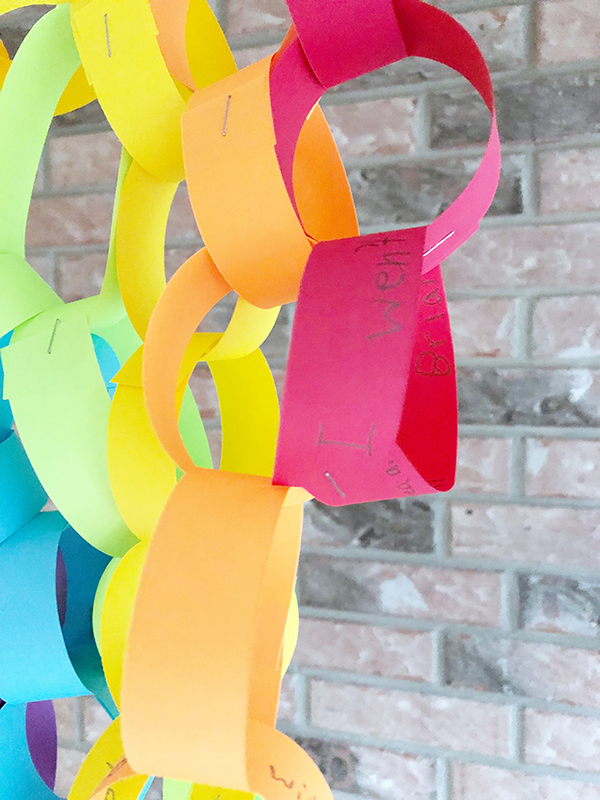
I hung the garlands first by clipping the red loops to the rope. Then as I layer colors, I staple the chain to the chain above it. I didn't staple every loop, just periodically.
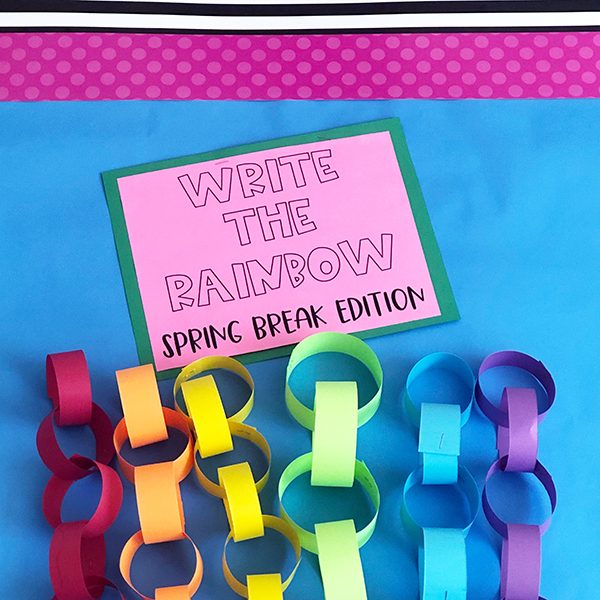
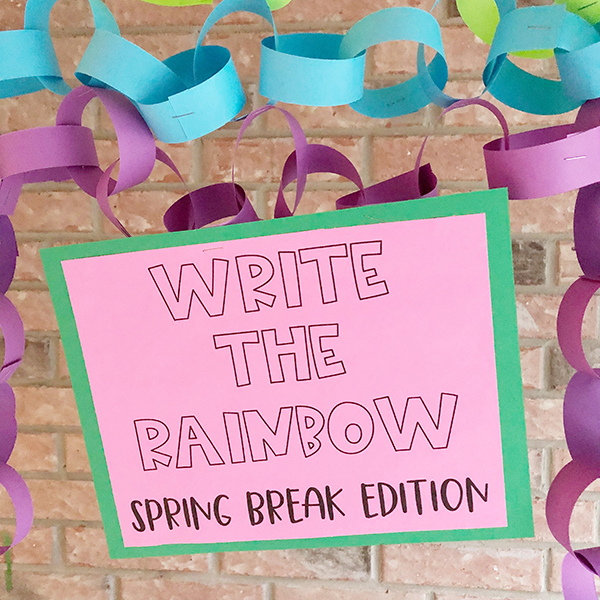
I added a sign to title the activity. You can download the sign for free HERE.
Once again, this activity could be used for any subject! Just choose the questions for each color. The kids will love coming together to see beautiful, colorful garlands made by their unique responses.