Color Camp Summer Craft Series: Market Stand from Upcycled Carton

.ashx?la=en)
Merriment Design
Welcome to Week 2 of Color Camp! ASTROBRIGHTS® Paper asked me to create a series of summer crafts that kids and parents can make together.
Color Camp is a weekly series of summer paper crafts that kids and parents can make together. I designed a pretend farmer’s market playset for you with four parts:
Week 1: Fruit friends paper dolls
Week 2: Market stand from a upcycled milk or juice carton
Week 3: Fruit and veggies to sell at the stand
Week 4: Pretend money
Last week, we made cheerful Fruit Friends paper dolls -- Avocado, Strawberry, Blueberry, Lemon, and Watermelon -- for our farmer’s market stand employees and customers.
This week, we’ll make our new friends a Market Stand from recycled milk or juice cartons. This upcycled craft is a fun way to demonstrate to kids that trash can be reused to make something useful and fun.
When you’re finished with this week’s craft, you’ll have a cute market stand for your fruit friends. Next week, we’ll be making lots of fruits and veggies to buy and sell at the stand.
Week 2: Market Stand

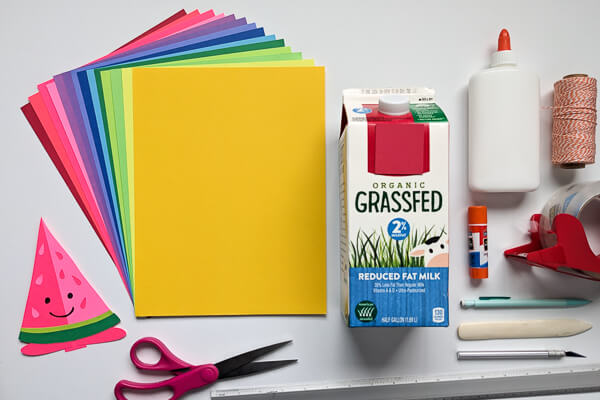
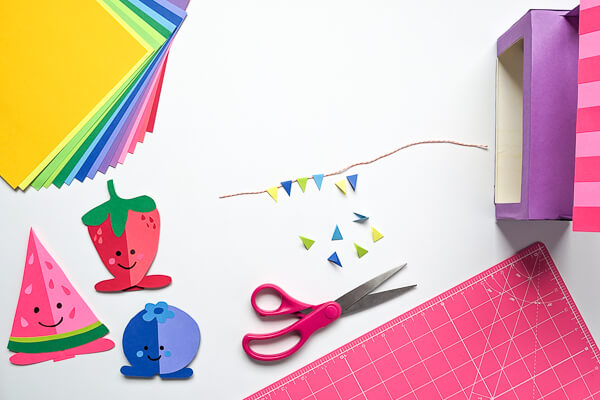
Supplies for Market Stand:
- Kathy's printable Farmer's Market Stand printable template (PDF)
- Astrobrights® Spectrum Cardstock
- Milk or Juice carton from the recycling bin
- Good Paper Scissors
- Packing tape or clear tape
- Glue Stick
- School glue and optional brush
- Pencil
- Craft knife and metal ruler (for parents/caregivers only)
- Short piece of yarn or string
- Washi tape (optional)
How to make the Market Stand:
Step 1: Print out all of my market stand templates onto your favorite colors of ASTROBRIGHTS cardstock paper. I chose Planetary Purple™ to “paint” my stand and create its two supports, plus Plasma Pink™ and Pulsar Pink™ for the awning.
Step 2: Rinse out an empty milk or juice carton from the recycling bin. Once it’s dry, open the top of the carton so you can see inside.
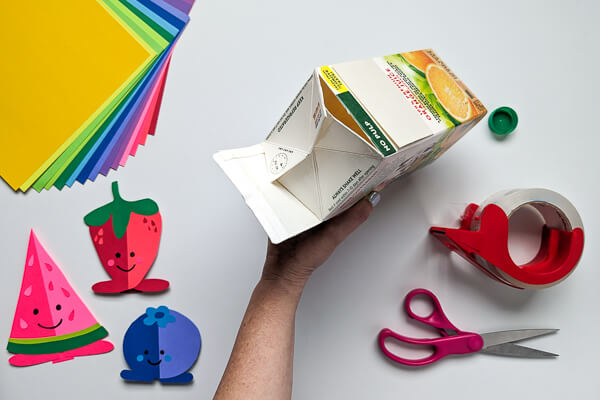
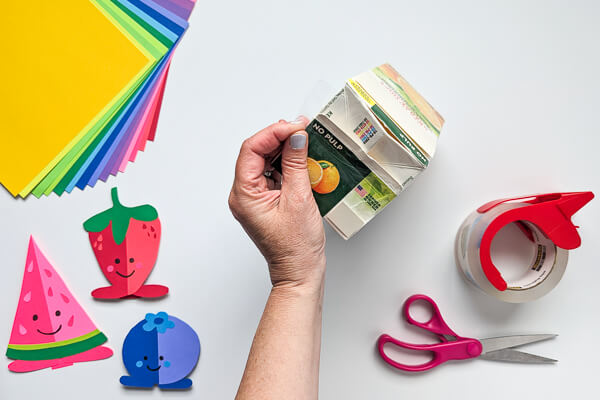
Step 3: We’re going to transform the carton into a rectangular box. Start by cutting the four open corners, then cut off the flap with the pouring spout and plastic cap. Fold down and tape the three remaining flaps to create a rectangular box.
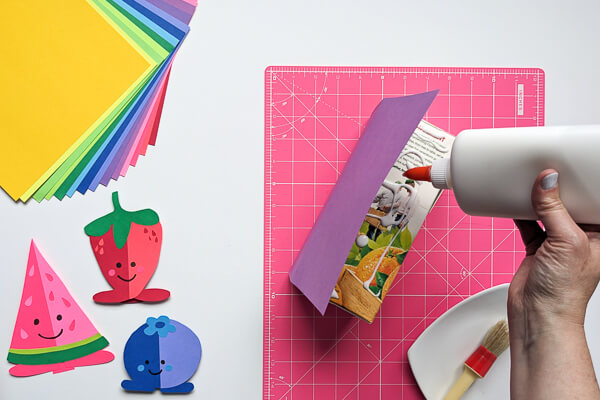
Step 4: Cut a piece of cardstock paper sized 7-3/4 “ x 11”. This is a good time to teach kids about measuring inches; I like to measure in three different spots and make small pencil dots at the 7-3/4” marks. Then connect the three dots with a ruler and draw a line. Cut along the line.
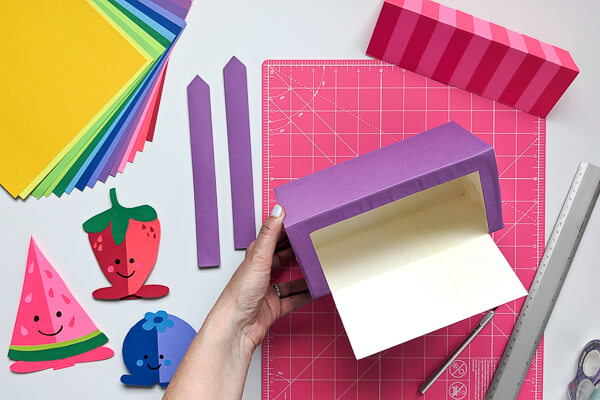
Step 5: Spread school glue onto one side of the carton and adhere the cardstock paper. Repeat on two more sides of the carton for a total of three covered sides. NOTE: A 7-3/4 “ x 11” sheet of paper completely covers 52-ounce cartons. You’ll need to add a little bit more paper to completely cover half-gallon cartons.
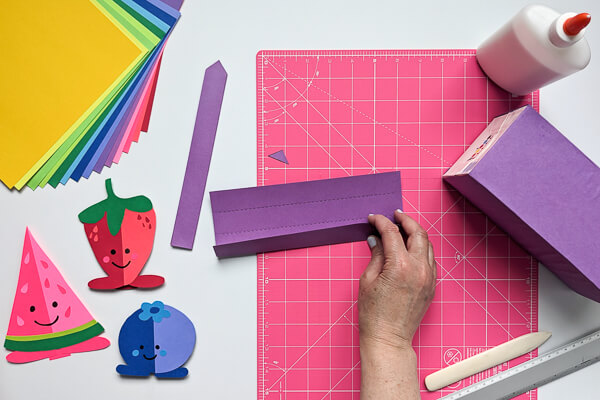
Step 6: While the stand dries, we’ll make the two supports. Cut out my supports template. Then fold on the dotted lines; you can run a bone folder or kitchen butter knife along a ruler’s edge to help crease the paper to make it easier to fold. Glue the support together and press down firmly to adhere.
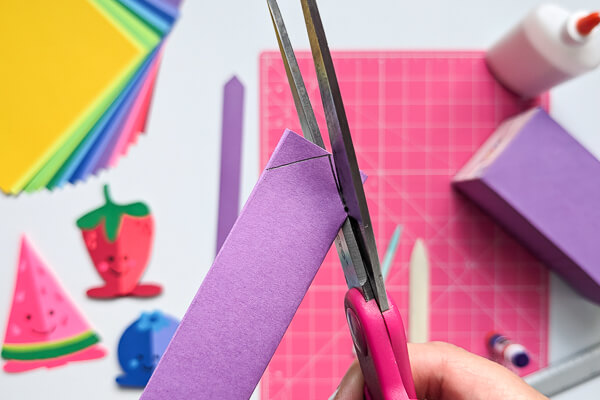
Step 7: Trace my triangle pattern onto the top edge of a support. Cut the triangle; this is where the awning will rest on top of the support. Repeat steps 5 and 6 for the second support.
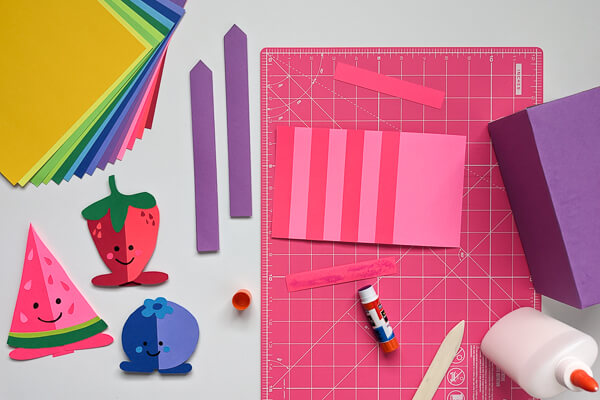
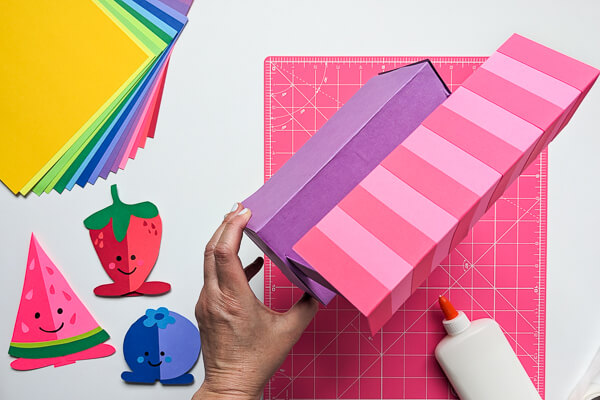
Step 8: Make the striped awning. Cut out the awning templates and stripes. Glue the stripes onto the awning.
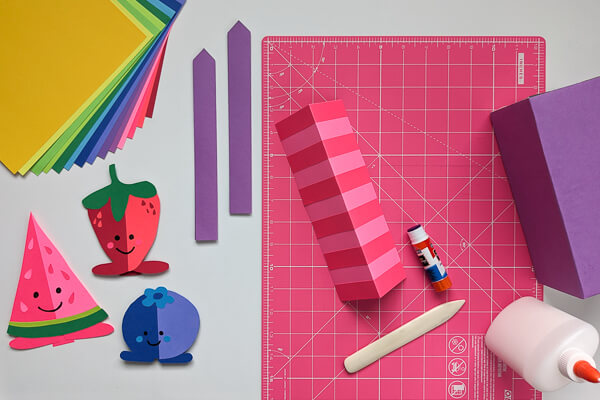
Step 9: Fold the awning in half lengthwise. Again, you can run a bone folder or kitchen butter knife along a ruler to crease the paper so it’s easier to fold. Set the awning aside.
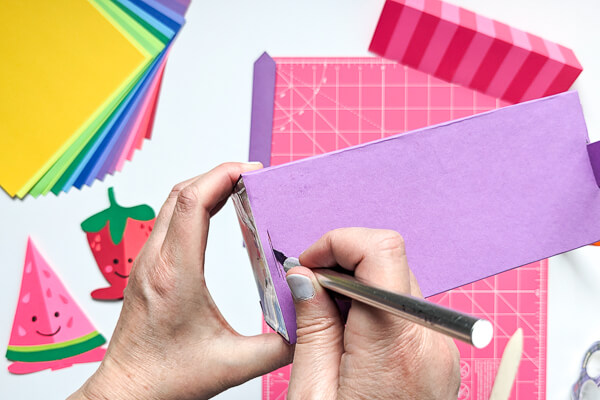
Step 10: Circle back to your dry market stand. Place my front cutout pattern on the front of the stand and trace around it with a pencil.

Step 11: Cut the carton on the pencil lines using a craft knife or scissors - parents and caregivers should do this step on their own. Then cut off the flap to expose the inside of the stand. In Week 3, we’ll add fruit and veggies for sale.
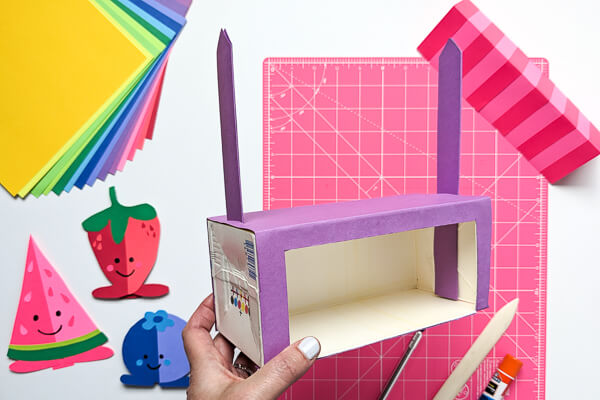
Step 12: Cut two slits on the left and right sides of the stand’s top counter. Again, parents and caregivers should handle this cutting step. Slip the stands inside the slits.
Step 13: Glue the awning onto the stand supports, resting it on the triangles.
Step 14 (optional): Create decorative bunting to decorate your Farmers Market Stand. Trace my bunting template onto scraps of paper and cut. Then fold the bunting in half over a piece of yarn and glue. Tape the decorative bunting to the front of your stand using Washi tape or clear tape. Kids can continue to decorate their Market Stand as they wish using colorful markers and scrap paper.
Step 15: Create a sign for your Farmer’s Market Stand. Print the sign on Stardust™ White cardstock paper. Print the Open and Closed signs onto your choice of paper (I used Pulsar Pink™ Then cut out and glue Closed onto the front of your sign and Open onto the back. Fold in half and set it next to your stand.
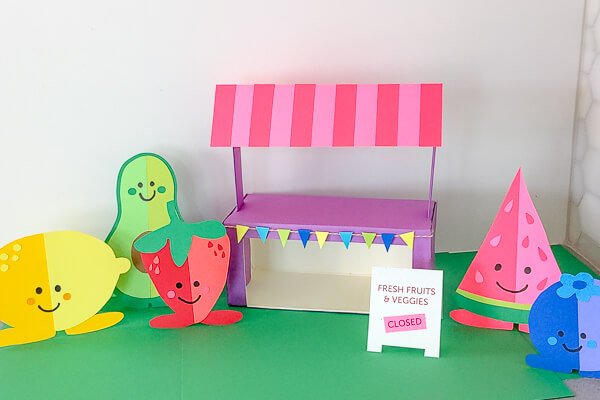
Next week, we’ll be making lots of fruits and veggies to buy and sell at the stand. See you soon for Week 3 of Color Camp!
Be sure to see more of my paper crafts for ASTROBRIGHTS paper including my S’mores Campfire Playset, Tent Camping Playset, Paper Bead Jewelry, Geometric Dinosaur birthday party, Upcycled Paper Vases, Family Birthstone Birthmarks, and many more.
Kathy Beymer
Instagram: @kathybeymer
Pinterest: @merrimentdesign